


PAGE INDEX
Building a System in the Thermaltake Chaser A71
One of the best ways for a reviewer to provide the proper perspective regarding a chassis is to throw some components in there and let you know how everything went. At the end of the day, a company can boast all they want regarding the features it has incorporated into case, but if the aggregate result is not a smart design, the number of features really doesn’t matter.
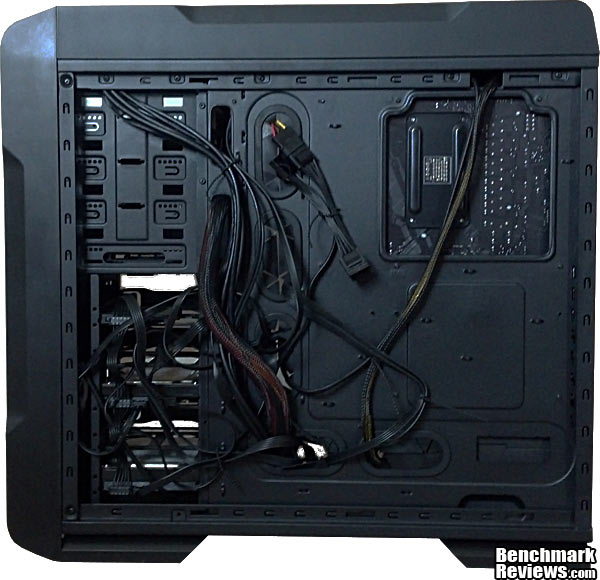
Clearly, my cabling job is not the finest you will see. However, I can report that the right-side panel slid on with ease. There are several loops from which to tie down cabling, and there is plenty of room for more. Something worth mentioning; Thermaltake provided reusable tie downs rather than zip ties. I found this very convenient because I tend to change my mind repeatedly and reroute cables during a build. I’m sure I’m not the only one that proceeds in that fashion.
I wanted to include a picture with only an ATX motherboard and CPU/stock heatsink installed in order to provide a perspective of how much room there really is inside the Thermaltake Chaser A71. Clearly, a 240mm radiator and custom liquid cooling system would fit in this case with ease.
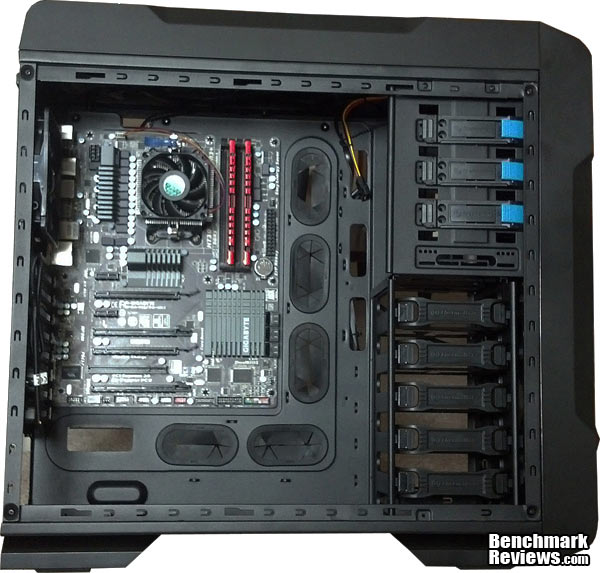
With all the components in the Thermaltake Chaser A71, the amount of room that the chassis actually provides is quite apparent. The image below does not fully capture how much space is actually remaining. Everything went into place without any issues. The ATX motherboard, for example, dropped right into place without having to worry about scraping my knuckles on the HDD or ODD cage. There is no doubt that an EATX motherboard would fit in this space.

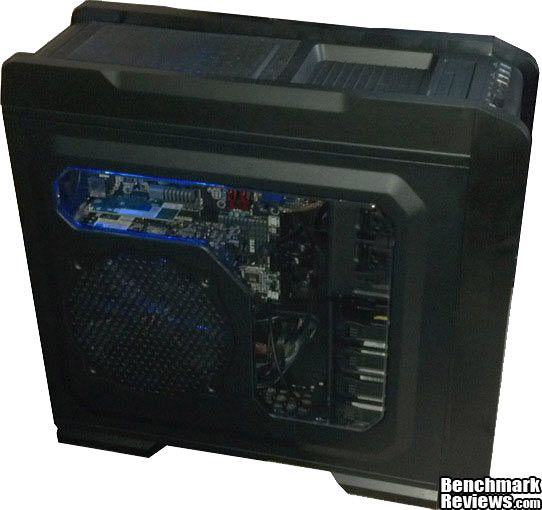
After buttoning everything up, this rig is ready for duty. Of course, do not forget to plug in the fan on the left-side panel before sliding it into place. Unfortunately, I was unable to capture an image that provided a true representation of the blue LED illumination, which lights up all of the interior components. It looks quite sharp. These fans are also whisper quiet.
Since I already covered the ODD and HDD installation earlier, I did not feel the need to share that process once again in this section. However, I will reiterate that installing the ODD, an SDD, and the HDD’s was a simple operation. I encourage you to go back to the internal features section and read more about it.
The Thermaltake Chaser A71 was a great case for this build. Obviously, this was a pretty simple build, but there is plenty of room for expansion. For enthusiasts wanting to upgrade the stock air cooling system and go for something with at 240mm radiator and a liquid cooling setup, there won’t be any problems.
Most Recent Comments